Environments
Manage your Environments in the Phase Console. This page covers the practical steps for creating, updating, and administering Environments through the Console UI.
When you create a new App, it is automatically initialized with three default Environments: Development, Staging, and Production. You can customize these or add additional Environments as needed.
The ability to create and manage custom environments is available for organizations with a Phase Pro or Enterprise tier subscription.
Creating a New Environment
- Navigate to the Secrets overview screen inside your app in the Phase console.
- Click the "+ New Environment" button.
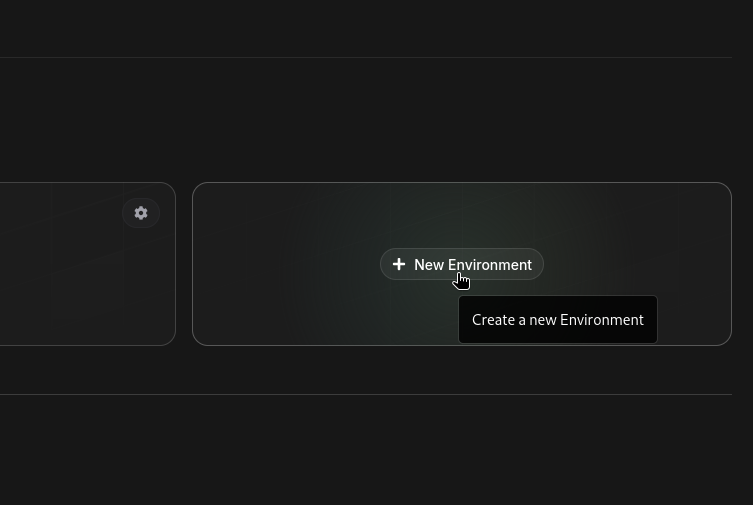
- Enter a name for your new environment. For naming rules and conventions, see Platform > Environments.
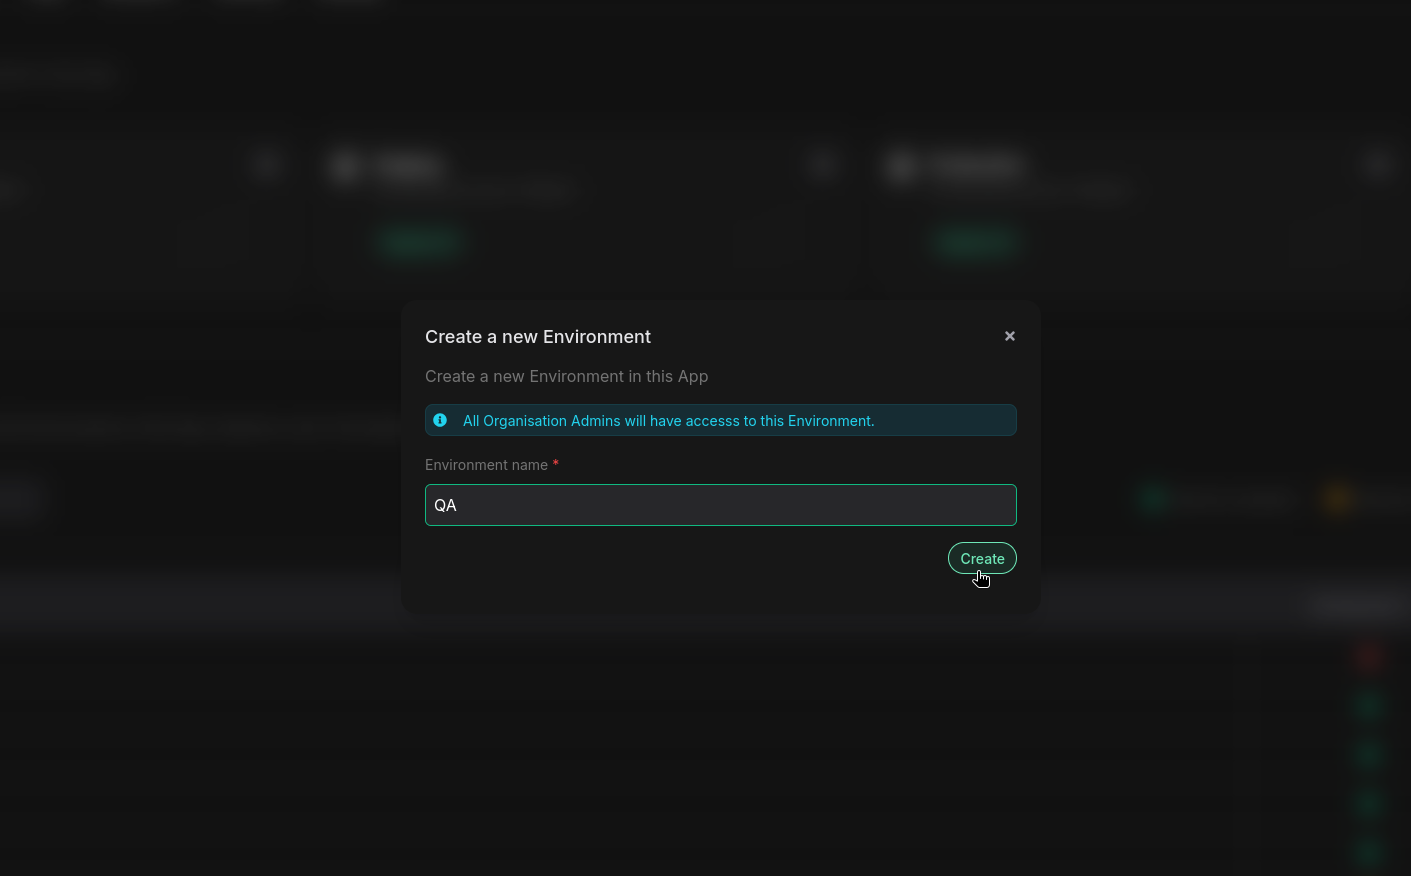
- Click
Create
Note: All Organisation Admins will have access to this Environment.
Managing Existing Environments
To manage an existing environment:
- On the Secrets overview screen, locate the environment card you want to manage.
- Click on the cog icon at the top right of the environment card.
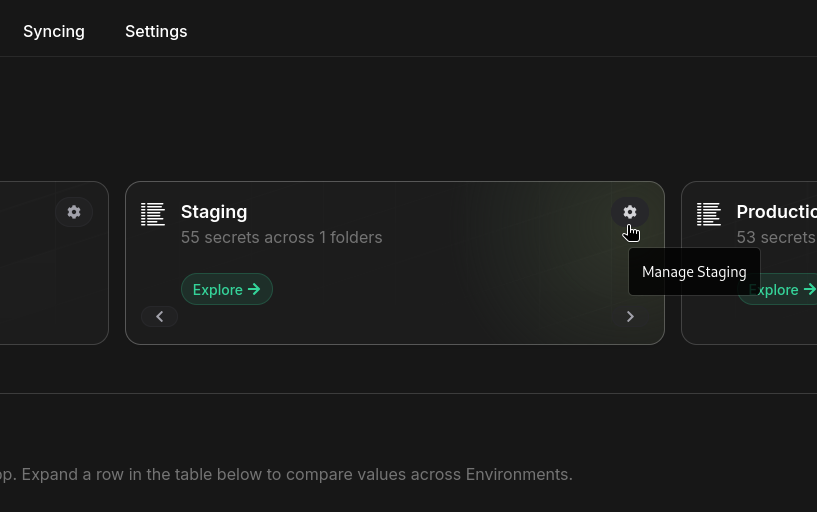
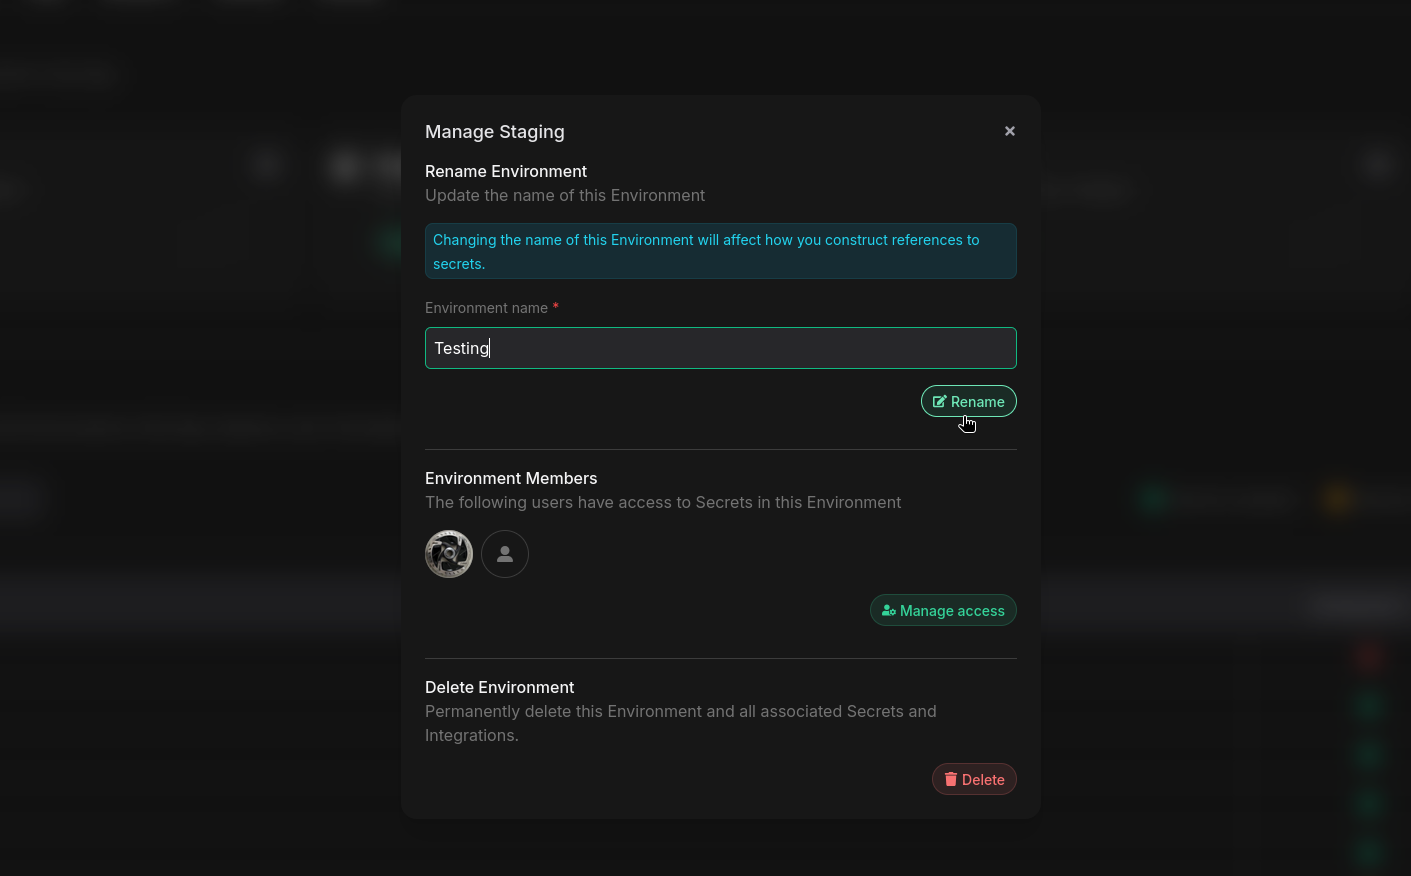
- A "Manage [Environment Name]" dialog will appear with several options:
Renaming an Environment
- Enter the new name in the "Environment name" field.
- Click the
Renamebutton to apply the change.
Changing the environment name will affect how you construct secret references.
Managing Access
- In the "Environment Members" section, you can see users who have access to Secrets in this Environment.
- Click
Manage accessto add or remove user access to this environment.
Deleting an Environment
- At the bottom of the dialog, you'll find a "Delete Environment" section.
- Click the
Deletebutton to remove the environment.
Deleting an environment will permanently delete all associated Secrets and Integrations.
Organisation Owners and Admins have access to all Environments by default. For Developers, you can control Environment access from the App Members screen.